Setting up a new Board
To get started, we need to create a new board. Visit the board list either via the menu item in the main JIRA header, or via the project sidebar.

The Simple Agile link in the JIRA header shows all boards, while the link in the project sideber shows only boards that include the current project you're viewing.
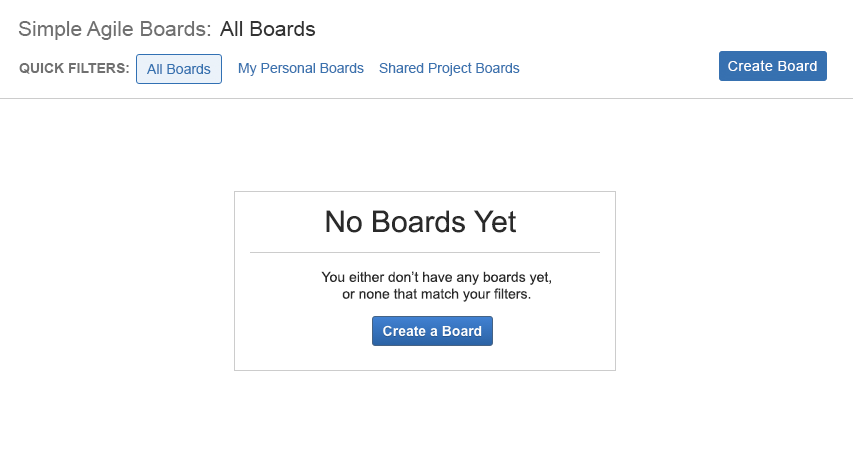
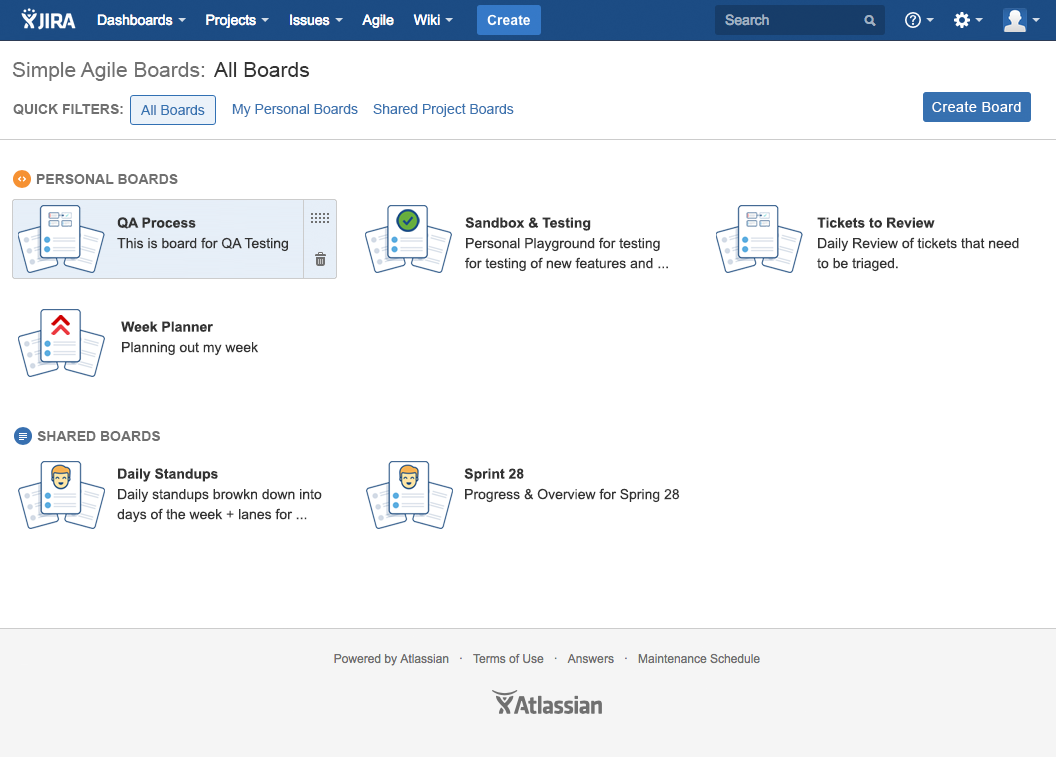
The starting point for Simple Agile boards is always the board list. It shows you the boards that have been created, split by Personal Boards (you are the only one with access to it) and Shared Boards (either everyone within a project, or only specific groups have access to these boards).
Clicking on "Create Board" starts the board creation wizard, and steps you through the initial screens to create a board.

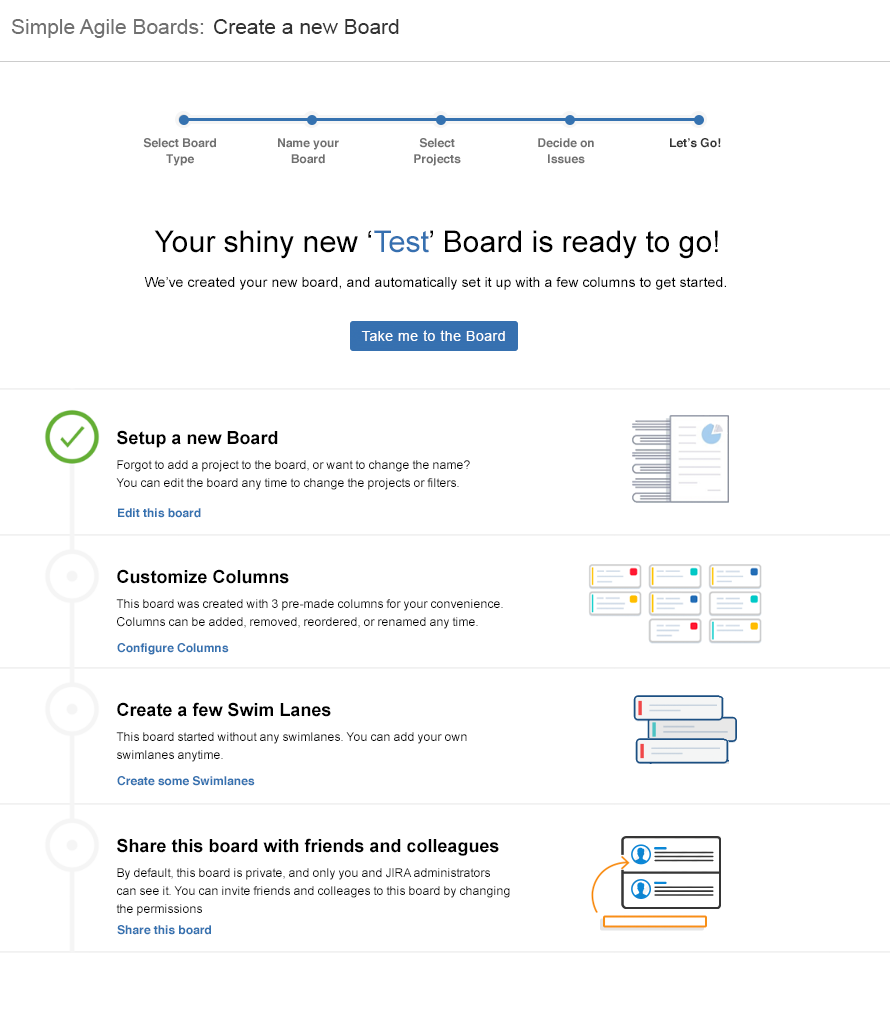
The wizard will guide you through picking a board type, naming your board, and defininig what issues should show in the board. Based on the board type selected, we either create some default columns to get you started quicker, or you select a few values to generate columns from.
Once the board is created, you can see a review of what was done, and either use the board immediately, or customize it further.
A NOTE ABOUT DEFAULT PERMISSIONSBy default, all boards start out being shared with everyone in a project. To restrict a board to be personal (only you) or to a specific set of groups, you will need to change the board permissions. See the Sharing Boards section of the documentation for more details.